After you create a job and add content items to it, you are ready to send the job to translation.
Note: After you add a content item to a job, it is a request.
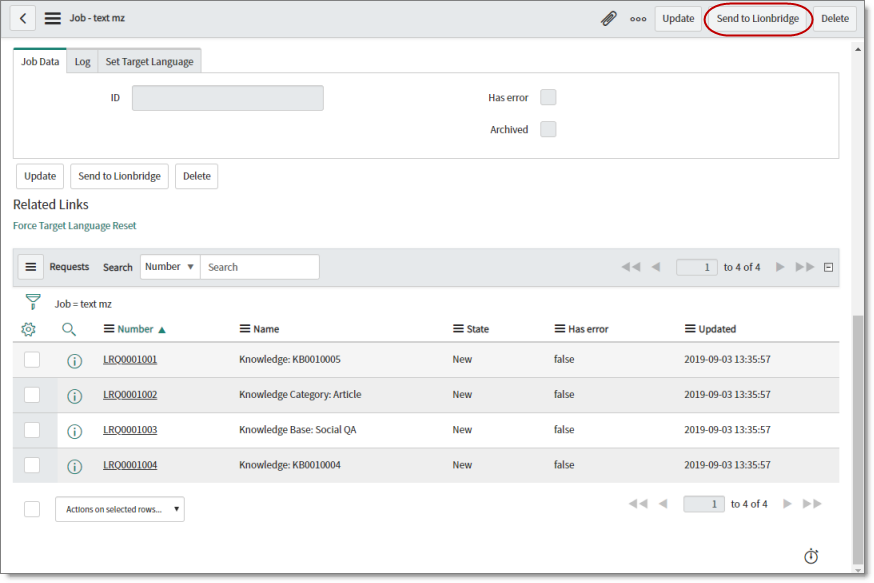
You send a job for translation from the Job dialog box.
To send a job to translation:
- Do one of the following:
- Immediately after adding content items to a job, click the job link in the confirmation message displayed at the top of the page.

- Navigate to Lionbridge Connector > Jobs > Active Jobs to open the Jobs page.

In the Number column, click the job-number link.
The Job dialog box opens.

The Related Links section displays all the requests in the job, which are the individual content items to send for translation.
- The following sub-steps are optional.
- To view information about a request, click the Preview icon
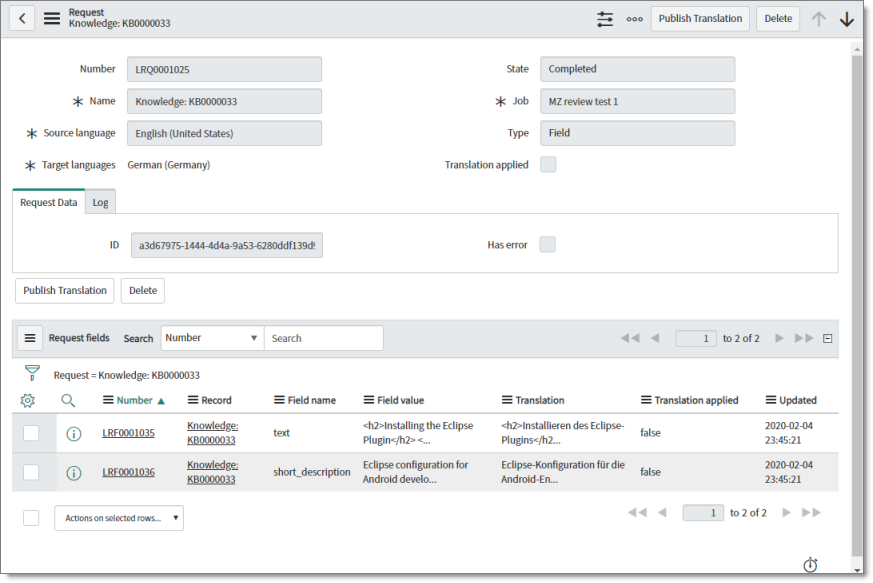
 . The Request window opens, displaying information about this request. For a description of the fields in this window, see Viewing Request Details.
 - To open the request for editing, click the request ID link in the Number column. For more information, see see Editing a Request.
- To change the target language for all requests in the job to the target language defined for the job, click the Force Target Language Reset link, which is in the Related Links section.
Tip: You can view the target language defined for the job in the Set Target Language tab of this page.
- In the top-left corner, click Send to Lionbridge.
The page updates, displaying a message at the top that the job has been submitted for translation.
You can monitor the job state in the Dashboard, which you open by navigating to Lionbridge Connector > Jobs > Dashboard. For a detailed description of the Dashboard, see Viewing Your Translation Summary.
In a few seconds, the State field changes from New to Created, which indicates that the Clay Tablet received the job.

