This the multi-page printable view of this section. Click here to print.

Return to the regular view of this page.

Getting Started with the Connector

The Connector supports the following ServiceNow versions:

  • London
  • Madrid
  • New York
To access the Connector:
  1. Log into ServiceNow.

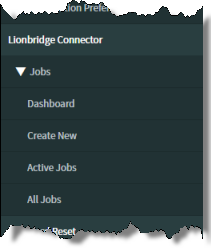
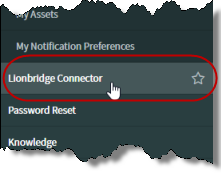
  2. Navigate to Lionbridge Connector.

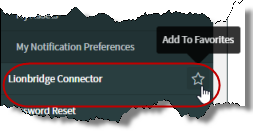
Tip: To easily access the Connector in future sessions, mouseover Lionbridge Connector in the application navigator and click the Add To Favorites icon.

The Connector sub-menu opens, displaying all the Connector menu options under Jobs.

1 - The Connector at a Glance

You access the Lionbridge Connector for ServiceNow (“Connector”) directly from Lionbridge Connector in the application navigator.

It has the following main interfaces, accessible under Lionbridge Connector > Jobs:

Dashboard
  • You click the Dashboard sub-menu item to view a summary of the translation state of all jobs in this ServiceNow instance.

Job - New record dialog box
  • You click the Create New sub-menu item to open the Job - New record dialog box, where you can create a new job so that you can send content for translation.

Jobs page
  • You click the Active Jobs or All Jobs sub-menu items to open the Jobs page, where you can view a summary of information about all jobs, and from where you can see detailed information about any job. Clicking Active Jobs displays only non-archived jobs, while clicking All Jobs displays both archived and non-archived jobs.