Getting Started with the Lionbridge App
The Lionbridge App supports all browsers that Oracle Eloqua supports.
Important: When prompted, ensure that you enable pop-ups for your site on secure.eloqua.com.
To access the Lionbridge App:
- Log into Oracle Eloqua.
The My Eloqua dashboard opens.
- In the top-right corner, click the More Apps button
 .
.
The Apps area opens.
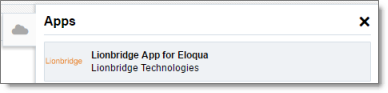
- Optional. Click Lionbridge App for Eloqua.
Note: This step is necessary only if you are not already logged in to Oracle Eloqua.
The Sign In to Eloqua page opens.
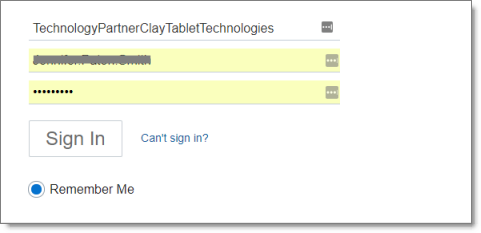
- Enter your company and user credentials and click Sign In.
Note: This step is necessary only if you are not already logged in to Oracle Eloqua.
The My Eloqua dashboard reopens.
- In the top-right corner, click the More Apps button .
- The Apps panel opens.
- Click Lionbridge App for Oracle Eloqua.
The Allow Access to Eloqua dialog box opens in the right panel.
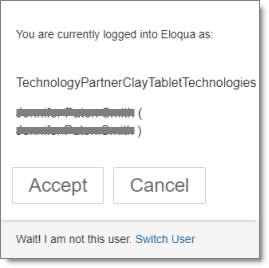
- Click Accept.
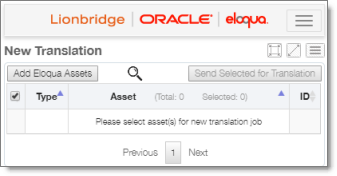
The Lionbridge App opens.
- After logging in, you can:
- adjust the screen size:
- when using a relatively small device, such as a 15" laptop, you can click the Fit Smaller Screen button

- when using a larger device, you can click the Fit Bigger Screen button

- view a maximized version of the current page by clicking the Maximize Window button

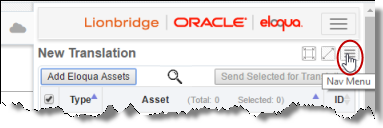
- open the navigation menu to navigate to another page by clicking the Nav Menu button

- change the language of the user interface by clicking the menu button
 , and then clicking the dropdown menu for English and selecting a different language
- log out by clicking the menu button , and then clicking the arrow beside your username and selecting Logout
1 - The Lionbridge App at a Glance
The Lionbridge App is registered as an app within Oracle Eloqua. Its functionality is displayed to the users as part of Oracle Eloqua.
As a SaaS (Software as a Service), Oracle Eloqua does not support installing the Lionbridge App or any other external applications on its server. Therefore, the Lionbridge App is hosted on the Lionbridge CloudBroker server.
The Lionbridge App opens within Oracle Eloqua, in the right panel of the My Eloqua dashboard.
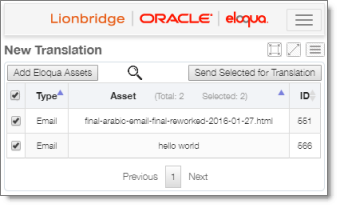
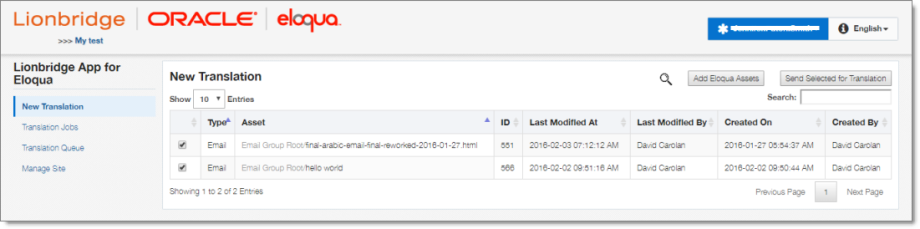
From each page within the App, you can open a maximized version of that page, which provides more detail about the assets displayed in that page. A maximized page opens in a new browser tab.
User Access
When you use the Lionbridge App to send out assets for translation, you are part of one or more teams. Your team determines the allowed source languages, target languages, and translation providers that its member users can send out for translation. You must be a member of at least one team to send out content for translation. If you have questions about your team setup, contact your Oracle Eloqua administrator.
2 - Setting Your Default Translation Values
You can set your own default translation values that will be displayed when you send out assets for translation. You can set the default values for the following translation parameters:
- source language
- target languages
- team (if relevant)
- translation provider
To set your own default translation values:
-
Open the Lionbridge App. For detailed instructions, see Getting Started with the Lionbridge App for Oracle Eloqua.
-
In the App, click the Nav menu button to open the menu.
- In the menu, select Translation Defaults.

Note: If a maximized page in the App is already open, then in the Lionbridge App for Eloqua menu on the left, you can click Translation Defaults to open the maximized version of this page.
- Optional. You can set these values on the maximized version of this page. To open the maximized version of this page, click the Maximize Window button .

You can specify default values for the following fields:
| Field |
Description |
| My Default Source Language |
Select the default source language to display in the Source Language dropdown list in the Languages tab of the New Translation dialog box. |
| My Default Target Languages |
Select the check boxes of the default target languages to display in the Target Languages list in the Languages tab of the New Translation dialog box. |
| My Default Team |
Select the default team to display in the Team dropdown list in: - the Translation Job tab of the New Translation dialog box
- the Send Out Queued Items dialog box
|
| My Default Provider |
Select the default team to display in the Provider dropdown list in:- the Translation Job tab of the New Translation dialog box
- the Send Out Queued Items dialog box
|
| My Default Notification Group |
Select the default group to display in the Notification Group dropdown list in the New Translation dialog box. |
- To save these default values, click Save.