Importing Translated Content
When the translation project is complete and has been returned to the Connector, the translated content is ready to import into Episerver, where you can review it.
You can import a project even if it has not been fully translated. However, to import and publish a page, all its dependent blocks must be translated.
The Connector automatically updates translation projects with redelivered assets. If an imported project has redelivered assets, its status is 100%/Ready for import.
There are three ways to import translated content into Episerver:
Recommendation: After importing translated content, you should review the corresponding translated assets before publishing them. For detailed instructions, see Reviewing Translated Assets.
1 - Importing All Available Translated Content from the Gadget
When the translation project is complete and has been returned to the Connector, the translated content is ready to import into Episerver, where you can review it.
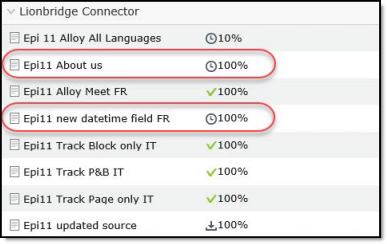
In the Lionbridge Connector gadget, the clock icon  is displayed and the project-completion status is variable, greater than 10% and up to 100%.
For more information about importing translated content into Episerver, see Importing Translated Content.
To import translated content into Episerver from the Lionbridge Connector gadget:
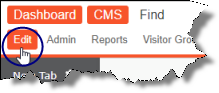
- In Episerver CMS, click Edit.
- Click the Toggle assets pane icon.
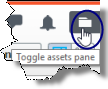
The Assets pane is displayed on the right. The Lionbridge Connector gadget is displayed at the bottom of the pane, displaying all the translation projects.
-
In the list, click a project whose status is 100% to select it.
-
Mouseover the right end of the project in the Lionbridge Connector gadget, click the Options icon  and then select Import translations in the project’s context menu.
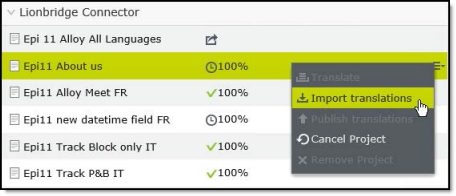
A message box opens, stating that the project has been imported, but that it has not been published. The project is ready for review.
- Click OK to close the message box.
2 - Importing All Available Translated Content from the Dashboard
When the translation project is complete and has been returned to the Connector, the translated content is ready to import into Episerver, where you can review it.
For more information about importing translated content into Episerver, see Importing Translated Content.
In the Lionbridge Connector Dashboard, either:
- The displayed project status is Ready for import.
- The project status is displayed, in italics, in In Translation status, which indicates that some of the project content may already be ready to import into Episerver. For more information, see the note about status displayed in italics in Monitoring Translation Projects.
To import all available translated content into Episerver from the Dashboard:
-
In the Dashboard, locate a translation project with either Ready for import status or In Translation status, displayed in italics. This is displayed in the Status column. For information on opening the Dashboard, see Getting Started with the Connector for Episerver.
-
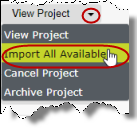
In the Actions column, click the arrow and select Import All Available from the context menu.
A message box opens, confirming that the project is being imported into Episerver, and that the project status will update when the import is complete.
- Click OK to close the message box.
3 - Importing Translated Content in One Target Language from the Dashboard
When the translation project is complete and has been returned to the Connector, the translated content is ready to import into Episerver, where you can review it.
In the Lionbridge Connector Dashboard, either:
- The displayed project status is Ready for import.
- The project status is displayed, in italics, in In Translation status, which indicates that some of the project content may already be ready to import into Episerver. For more information, see the note about status displayed in italics in Monitoring Translation Projects.
For more information about importing translated content into Episerver, see Importing Translated Content.
To import translated content into Episerver from the Dashboard:
-
In the Dashboard, locate the translation project whose content you want to import. For information on opening the Dashboard, see Getting Started with the Connector for Episerver.
-
Click the Expand icon  on the left side of the translation project whose assets you want to import.
The translation-project row expands, displaying the status of the translation of each target language in the project and any relevant actions. For a detailed description of this section, see Monitoring Translation Assets.
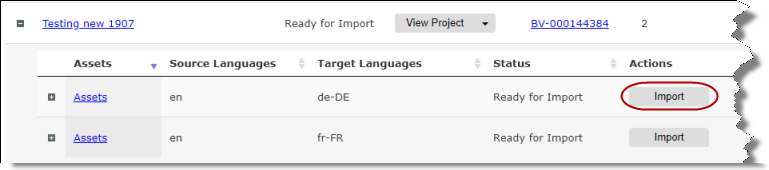
- Click Import for target-language assets to import.
A message box opens, confirming that you want to import the assets in this target language.
- Click Yes to proceed.
Another message box opens, stating that the assets were imported.
- Click OK to close the message box.