1 - Adding the Lionbridge Connector Gadget
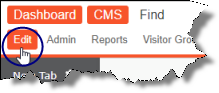
- In Episerver CMS, click Edit.
- Click the Toggle assets pane icon.
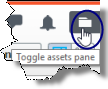
The Assets pane is displayed on the right.
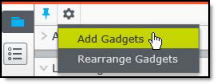
- In the Assets pane, click the Settings icon
 , and then select Add Gadgets from the context menu.
The Gadgets window opens.
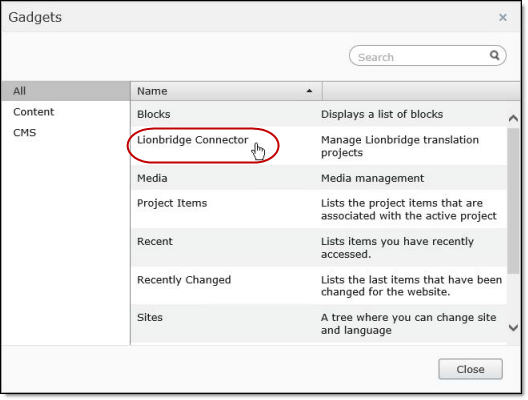
- Click Lionbridge Connector.
2 - Activating the Scheduled Job and Setting the Run Interval
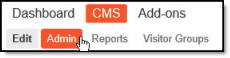
- In Episerver CMS, click Admin.
- In the left pane, in the Scheduled Jobs section, click Translation projects updater.

The Translation projects updater page opens, displaying the Connector scheduled job.

-
Select the Active check box to activate the job.
-
Specify the Scheduled job interval.
-
Click Save.
3 - Activating the Translation Heartbeat Job
You can send a heartbeat message to the Clay Tablet Platform. This enables it to monitor the health of the Connector. To send this heartbeat message you activate and configure the Translation heartbeat job.
To activate the Translation heartbeat job:
- In Episerver CMS, click Admin.
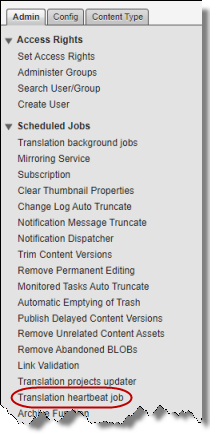
- In the left pane, in the Scheduled Jobs section, click Translation heartbeat job.
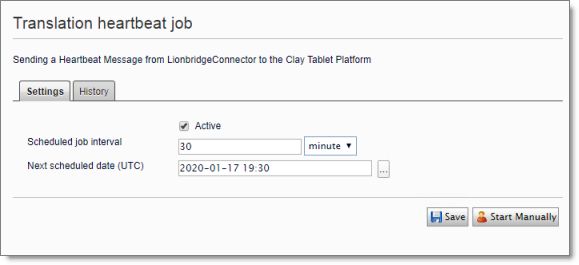
The Translation heartbeat job page opens.
-
Select the Active check box to activate the job.
-
Specify the Scheduled job interval.
-
Click Save.
Tip: To view a list of heartbeat messages sent to the Clay Tablet Platform, including dates, times, and status, click the History tab.
4 - Activating Background Jobs
- In Episerver CMS, click Admin.
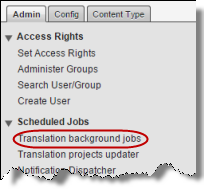
- In the left pane, in the Scheduled Jobs section, click Translation background jobs.
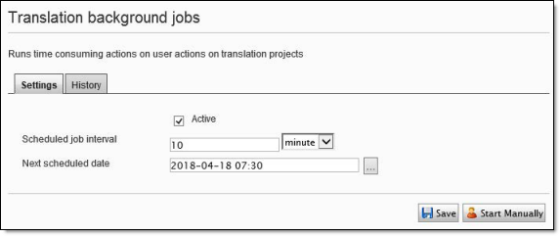
The Translation background jobs page opens.
-
Select the Active check box.
-
Specify the Scheduled job interval, for example, 30 minutes.
-
Click Save.
5 - Configuring Target XML and Source XML
Before you can use the Connector, you must configure source.xml and target.xml. These are available with your Lionbridge license. Ensure that you have this information before proceeding.
- The Connector uses the CMS address key, which is in source.xml, to move the files your company exports from Episerver to the Clay Tablet Platform. The Platform then forwards your exported files to your translation provider. If you have multiple Episerver installations, there must be one key (file) for each environment. Very important: Do not copy the CMS address keys to multiple instances, because this is a violation of the License Agreement. Using the same CMS address keys on multiple instances will cause the Lionbridge App or Connector to behave unexpectedly, which can result in lost translation content, orphaned projects, and inaccurate translation status reports. The Lionbridge Connector team will support technical issues caused by duplicating or incorrectly installing CMS address keys only on a time and materials basis.
Note: The Connector always initiates calls to the Clay Tablet Platform. However, the CMS address keys enable establishing a secure, discrete connection between the Connector instance and the Platform. They also support the return of files from translation.
- Your company’s platform key is in target.xml. This is your company’s license for the Clay Tablet Platform.
- In the bottom-right corner of the Lionbridge Connector gadget in the right pane, click the Settings icon , and then select Settings from the context menu.

- In the Workspace settings tab, edit the Target XML and Source XML fields.
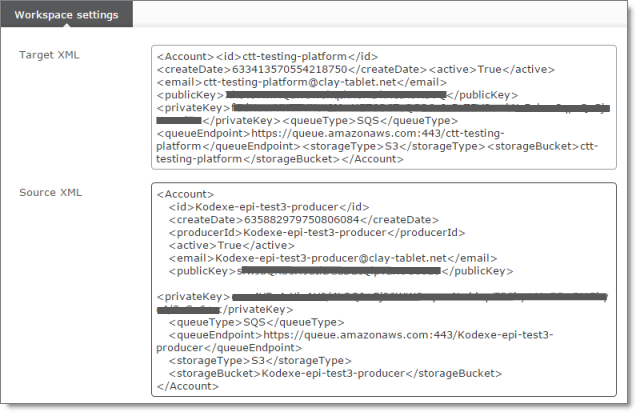
Episerver automatically saves your changes.
6 - Configuring Language Mapping and Asset Packaging
In the Workspace settings tab:
- You map Episerver languages to Clay Tablet languages in the language mapping.xml file.
- You configure how the Connector packages multiple assets in a translation project.
- In the bottom-right corner of the Lionbridge Connector gadget in the right pane, click the Settings icon , and then select Settings from the context menu.
- In the Workspace settings tab, edit the Language Mapping XML field to map each Episerver language code to the corresponding Clay Tablet language code. For a list and description of Clay Tablet language codes, see Appendix: Language Codes.
For example:
<Languages>
<Language>
<EPiServer>sv</EPiServer>
<ClayTablet>sv-SE</ClayTablet>
</Language>
<Language>
<EPiServer>da</EPiServer>
<ClayTablet>da-DK</ClayTablet>
</Language>
</Languages>
Note: If you leave this section empty, the Connector will use the default values.
- In the Workspace settings tab, you can configure how the Connector packages multiple assets in a translation project.
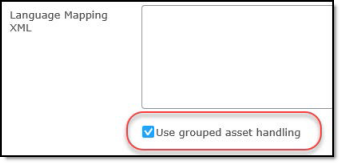
- If you select the Use grouped asset handling check box, then the Connector packages all pages and blocks selected for translation into a single XML file for each target language.
Recommendation: Select this check box, especially if Lionbridge Freeway will translate terms for SEO.
- If you clear the Use grouped asset handling check box, then the Connector sends each page and block selected for translation as a separate XML file.
Episerver automatically saves your changes.
7 - Configuring Lionbridge Freeway Settings
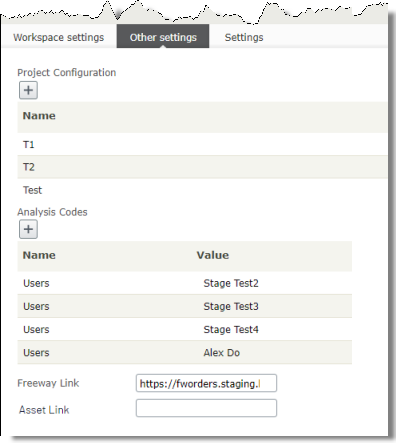
In the Other settings tab, you can configure Lionbridge Freeway-specific settings.
- In the bottom-right corner of the Lionbridge Connector gadget in the right pane, click the Settings icon , and then select Settings](#) from the context menu.
- Click the Other settings](#) tab.
- You can configure the following settings:
| Setting |
Description |
| Project Configuration |
The name of a workflow configuration. There may be multiple workflow configurations for your translation provider (Lionbridge Freeway) that are set up by the Lionbridge Connector Team. For example, there may be one workflow for human translation and another configuration for machine translation.
* Click the  icon to open a dialog box where you can create the name of a workflow configuration. Enter the name of the configuration in the **Name** field, and then click **Add**. icon to open a dialog box where you can create the name of a workflow configuration. Enter the name of the configuration in the **Name** field, and then click **Add**.
After setup by the Lionbridge Connector Team, this configuration will be available for selection in the **Project Configuration** dropdown list, which is displayed when creating or editing a translation project. |
| Analysis Codes |
The name of a Lionbridge Freeway analysis code.
* Click the icon to open a dialog box where you add an analysis code. Enter the name in the **Name** field and enter its value in the **Valu**e field, and then click **Add**.
These analysis codes will be available for selection in the **Analysis Codes** section that is displayed when creating or editing a translation project.
**Important:** You must contact your Lionbridge project manager to ensure that these analysis codes are in Freeway. |
| Freeway Link |
The link to the Lionbridge Freeway bundle ID. This will be provided by the Lionbridge Connector Team. There will be different links for staging and production environments. |
| Asset Link |
Optional. You can customize the links displayed in the Link column in the Lionbridge Connector Dashboard to display a non-default domain. Enter the non-default domain, for example: http://example.com.
Recommendation: Configure this if in the Admin tab, on the Manage Websites page, the URL configured for the public website (front-end URL) is different than the domain of the environment (back-end URL). This may cause the Dashboard to display errors when loading, or prevent links from being displayed. |
Episerver automatically saves your changes.
8 - Configuring Logging when the Connector is Installed Locally
Note: If the Connector is installed in a DXC cloud environment, see Configuring Logging in DXC Environments.
In an environment where the Connector is installed locally, you can activate full verbose logging for it. This is useful for identifying errors.
- Append the following to EPiServerLog.config:
<appender name=“lionbridgeFileLogAppender” type=“log4net.Appender.RollingFileAppender” >
<!-- Consider moving the log files to a location outside the web application –>
<file value=“App_Data\LionbridgeErrors.log” />
<encoding value=“utf-8” />
<staticLogFileName value=“true”/>
<datePattern value=".yyyyMMdd.‘log’" />
<rollingStyle value=“Date” />
<threshold value=“Verbose” />
<lockingModel type=“log4net.Appender.FileAppender+MinimalLock” />
<appendToFile value=“true” />
<layout type=“log4net.Layout.PatternLayout”>
<conversionPattern value="%date [%thread] %level %logger: %message%n" />
</layout>
</appender>
- Add the following logger:
</logger>
<logger name=“Lionbridge” additivity=“false”>
<level value=“Verbose” />
<appender-ref ref=“lionbridgeFileLogAppender” />
</logger>
The generated log file is: \App_Data\LionbridgeErrors.log.
9 - Configuring Logging in DXC Environments
Note: If the Connector is installed locally, see Configuring Logging when the Connector is Installed Locally.
If the Connector is installed in a DXC cloud environment, you must make some changes to access your Connector log files.
To access Connector log files in a DXC environment:
- Open
EPiServerLog.config for editing.
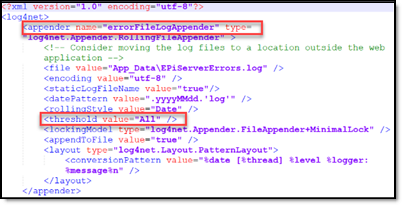
Under the <appender name=“errorFileLogAppender” section, change the threshold value to “All”.
- Under the <!-- Lionbridge logger–> section:
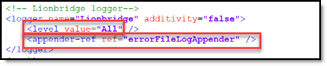
- Under the<root>section, change level value to “Error”.

This will retrieve all the Connector log messages, while retrieving only error-level log messages for Episerver. If you require a different level of Episerver log messages, then revert your changes after producing the Connector log files required for troubleshooting.
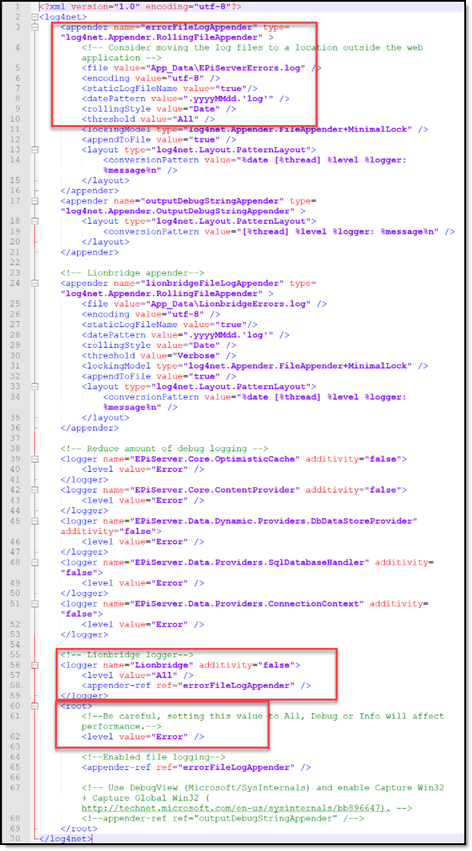
Tip: To obtain an EPiServerLog.config file with these changes already implemented, contact Lionbridge Connector Support.
View this sample modified file
10 - Configuring Multiple Users and Translation Workflows
The Connector supports multiple users. This enables configuring the Connector so that the creator of a translation project determines which Lionbridge Freeway account is assigned to that project. This requires setup in Freeway as well. To enable this configuration, contact the Lionbridge Connector Team and your Lionbridge project manager.