This the multi-page printable view of this section. Click here to print.
Adobe Experience Manager Translation Integration Framework
- 1: Welcome to the Connector
- 1.1: Terminology
- 1.2: How the Connector works with AEM TIF
- 1.3: Using this Guide
- 1.4: How to Contact Lionbridge Connector Support
- 2: Lionbridge Connector for AEM TIF Installation Guide
- 3: To Validate global project Configuration with Content API's Provider
- 4: Creating Translation Project with TIF Connector for AEM Cloud
- 5: Connector Translation Verification
1 - Welcome to the Connector
Welcome to the Lionbridge Connector for Adobe Experience Manager Translation Integration Framework (AEM TIF) version 1.0.0. This is Lionbridge’s connector between Adobe Experience Manager Translation Integration Framework and the Clay Tablet.
1.1 - Terminology
| Freeway | The name of the Lionbridge translation portal for submitting content to and retrieving content from the Lionbridge translation provider. |
| FTP Server | File Transfer Protocol (FTP) is a standard network protocol used to transfer files from one host to another host over a TCP-based network, such as the Internet. Translation providers may receive and send files for translation using an FTP server. |
| Lionbridge | The publisher of the Freeway translation portal and a translation provider. Users connect to the Freeway translation portal to submit content to and retrieve content from the Lionbridge translation provider. |
| Lionbridge Connector for Adobe Experience Manager Translation Integration Framework (“Connector”) | The connector software that Lionbridge has developed and provides, which plugs into your Adobe Experience Manager Translation Integration Framework instance to provide connectivity to the Lionbridge translation services. In this document it is referred to as the Connector. This is the software you are configuring as you work through this document. |
| MT | Machine translation. The translation provider can be a machine translation service, such as Google Translate. |
| Producer | Content system that sends content or documents out for translation. In this case, this is Adobe Experience Manager Translation Integration Framework. |
| Provider | A provider of translation services. The delivery of assets to the provider may be via an FTP server or a TMS connector. |
| TMS | Translation management system that the translation provider users. |
1.2 - How the Connector works with AEM TIF
The Lionbridge Connector (Connector) is an important part of the Lionbridge translation solution.
The Connector is installed on the AEM content system. Its functionality is displayed to the users as part of AEM TIF.

Your translation systems architecture might look like the configuration above. It may have additional content systems or translation providers, but the core concepts remain the same. If your translation provider is Lionbridge, it is accessed via Freeway.
During implementation, Lionbridge Connector Support works with you and your translation providers to configure and test the other elements of your translation solution, which are the connections to your translation providers' systems.
1.3 - Using this Guide
Purpose of this guide
This guide describes everything you need to know to configure Lionbridge Connector (Connector) for AEM TIF.
Who should use this guide
This guide is intended for Adobe Experience Manager administrators and system integrators.
What you should already know
This document assumes that your company already has an installed instance of Adobe Experience Manager. It assumes that you have a strong working knowledge of Adobe Experience Manager and its Translation Integration Framework feature.
Documentation conventions
This guide uses the following conventions:
| Convention | Description |
|---|---|
| Bold | Highlights screen elements such as buttons, menu items, and fields. |
| Courier | Highlights input, file names, and paths. |
| Italics | Highlights terms for emphasis, variables, or document titles. |
| > | Indicates a menu choice. For example, “Select Admin Tools > Configuration.” |
1.4 - How to Contact Lionbridge Connector Support
How to Contact Lionbridge Connector Support
You can submit a support ticket either:
- by emailing connectors@lionbridge.com
- from the Lionbridge Connector Zendesk page https://lionbridge-connectors.zendesk.com/
See also:
2 - Lionbridge Connector for AEM TIF Installation Guide
There are 4 sections for Lionbridge Connector for AEM TIF:
Note: AEM Cloud connector has the TIF translation build-in, there is no separate package needed. In case TIF has not been bundled along with AEM Cloud, perform the following steps.
How to Install Lionbridge TIF Connector Package for Adobe Experience Manager (AEM) Cloud
-
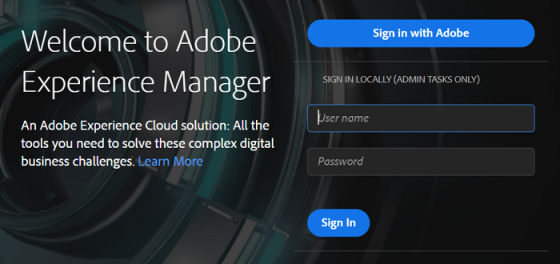
Log in to the AEM using your User name and Password.
-
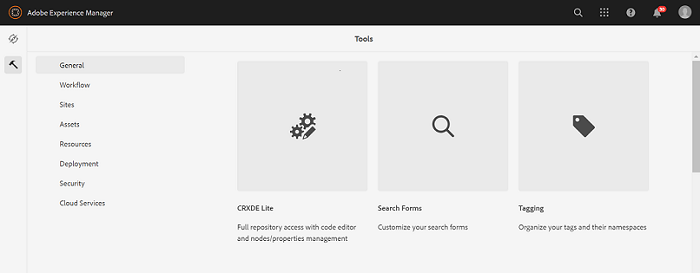
Click Tools (Hammer icon), select General, and Click CRXDE (Full repository access with code editor and nodes/properties management) option.
-
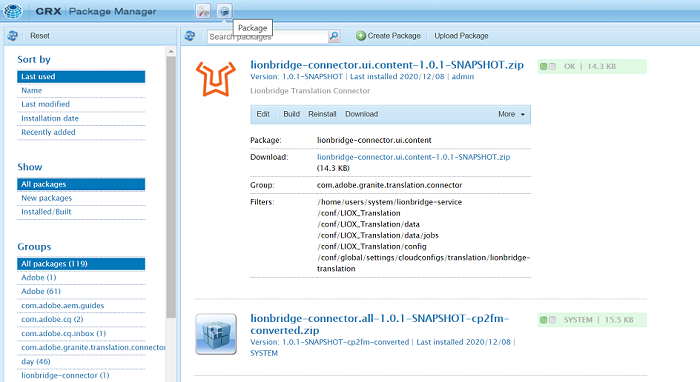
In CRXDE home page header. Click Package and install Lionbridge Translation Connector for AEM Cloud.
Click Upload Package to upload, Lionbridge TIF connector package name as lionbridge-connector.all-1.0-SNAPSHOT.
You can browse and choose lionbridge-connector.all-1.0-SNAPSHOT.zip package for installation in AEM Cloud.
3 - To Validate global project Configuration with Content API's Provider
To configure Lionbridge Translation Connector for AEM Cloud.
-
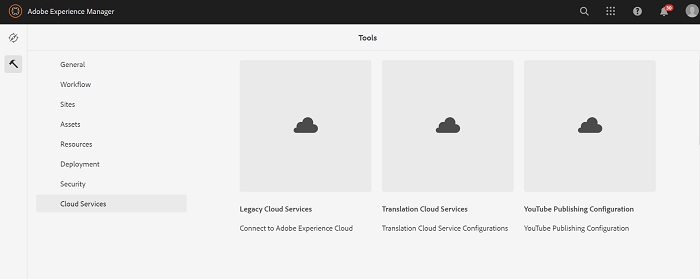
On AEM, click Tools (Hammer icon), select Cloud Services, and click Translation Cloud Services (Translation Cloud Service Configurations) option.
-
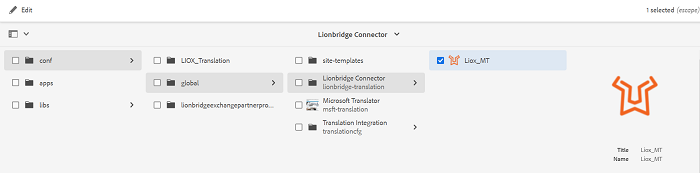
Click conf (Do not check) and click global (Do not check). You can see Lionbridge Translation Connector installed. Click Lionbridge Connector (Do not check) and click Create button appearing on the top right corner (See the following figure).

See the following figure if you are using AEM on-premise version:
-
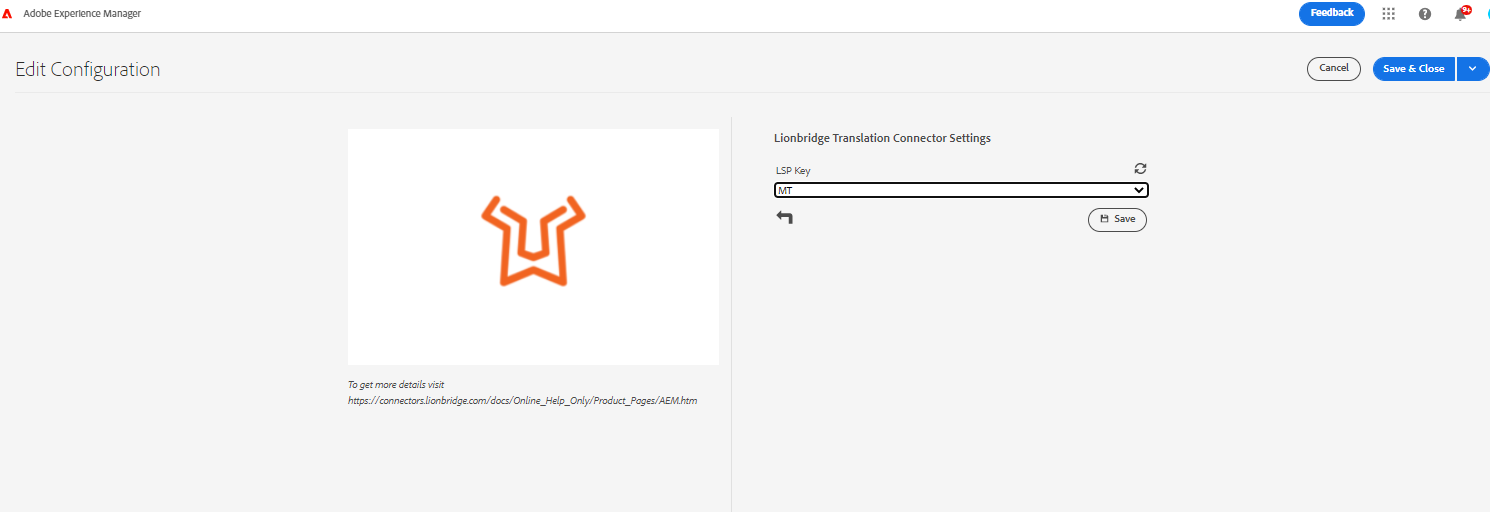
In the Create Configuration box, enter the the Title and Name then click Create.

-
To configure, select Licensed Key from the dropdown according to the requirement (Note: Only one Licensed key will be provided to one customer) and click Save & Close.
-
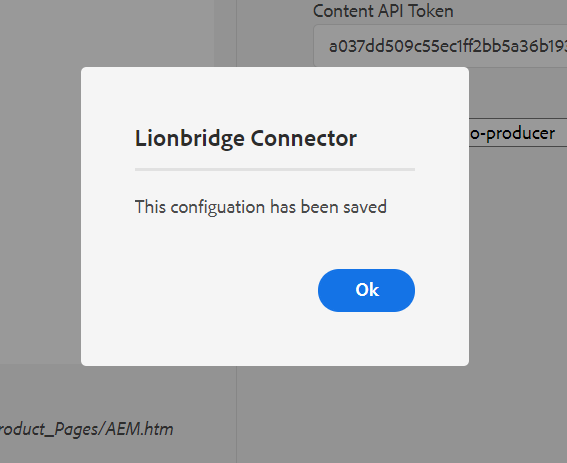
The Lionbridge Connector message is displayed as The configuration has been saved.
4 - Creating Translation Project with TIF Connector for AEM Cloud
-
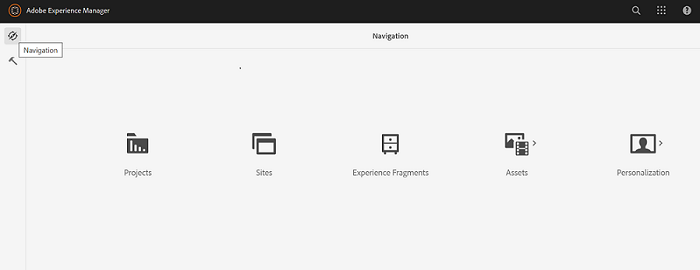
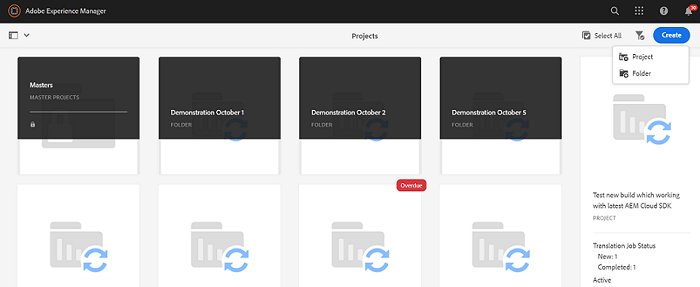
On AEM, click Navigation (compass icon) and select Projects.
-
To create new project for translation, click Create, and select Project.
-
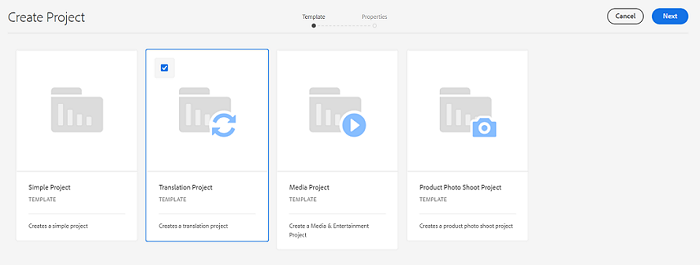
Select Translation Project (Template) from the available template and click Next.
-
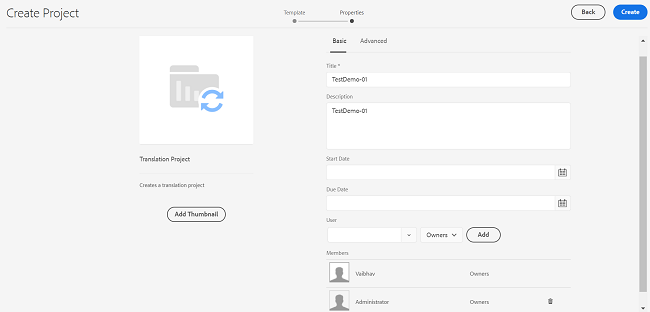
To configure the project for Translation. You need to configure Basic and Advance (mandatory) sections.
-
In Basic section, enter the following details:
-
Title: Enter the valid title name (mandatory field).
-
Description: Enter the description.
-
Start Date: Select the start date.
-
Due Date: Select the due date.
-
User: Select any User from the dropdown toggle according to the requirement (example: select Administrator, Owner), and click Add (to add the Members under User).
-
-
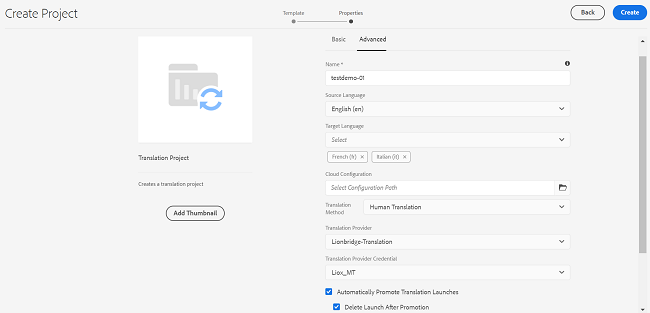
In Advanced section, enter the following details:
-
Name: By default Name is taken from Basic section.
-
Source Language: You can select any language according to the requirement (example: Select English).
-
Target Language: You can select multiple languages as per the requirement to which you need to translate from the dropdown (Example: Select French and Italian).
-
Cloud Configuration: Select Configuration Path (You can select global or lionbridgeexchangepartnerpro..).
-
Translation Method: Select Human Translation from the dropdown.
-
Translation Provider: By default, it is Lionbridge-Translation when Translation Method is selected as Human Translation (refer previous point vi).
-
Translation Provider Credentials: Lionbridge Connect Title is displayed which was created in earlier steps.
-
You can select or de-select Automatically Promote Translation Launches, Delete Launch After Promotion, and Automatically Approve Translations.
-
Repeat Translation: In Creates new translation job(s), inside the project you can select any one option as per the requirements (example: None/Daily/Weekly/Monthly/Yearly) to repeat the translation job and click Create.
-
A Success message is displayed as The Project was created. To verify the project, you can click Open or simply click Done.
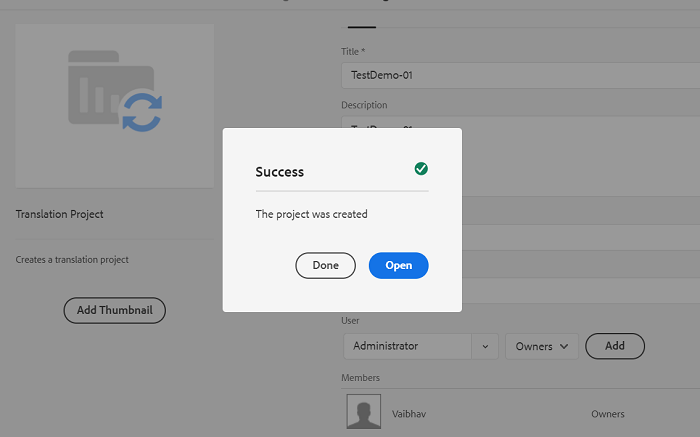
-
-
Note:
- When you send a TIF job, the language pairs are controlled by the Team Profiles, just like the Bulk Translation with All Team Profiles.
- Turn on AEM Build-in Languages to show up in Language Mappings.
5 - Connector Translation Verification
-
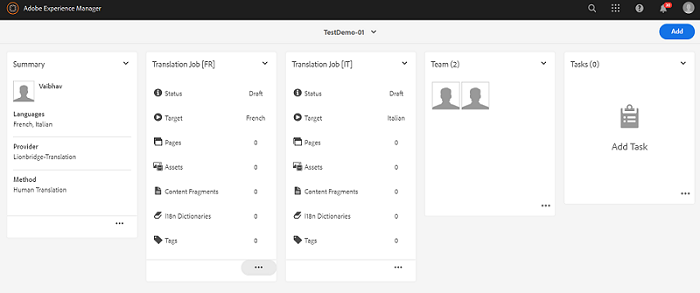
On AEM, click on Navigation (compass icon). Click Projects.
-
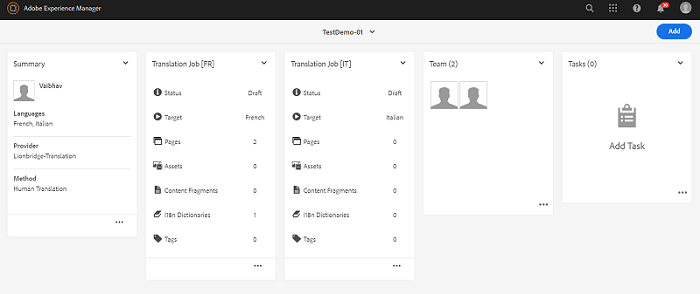
Select the latest created Translation Job (Target Languages). The Status is Draft. The Pages, Assets, Content Fragments, I18n Dictionaries, and Tags are zero (0). To add assets to the existing Job, click on more (three dots (…)).
-
Click + Add and select Assets\Pages.
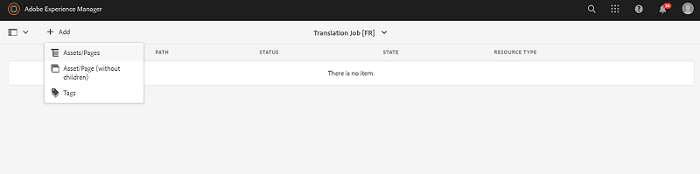
-
Select your assets path tree item as We.Retail » Language Masters » English » Men and Women for translation (You can select multiple assets according to the requirement for translation), and click Select.
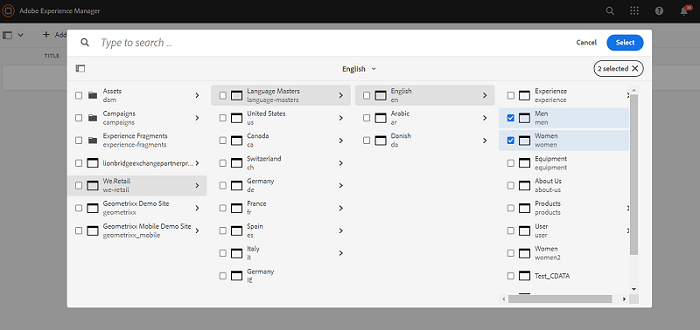
-
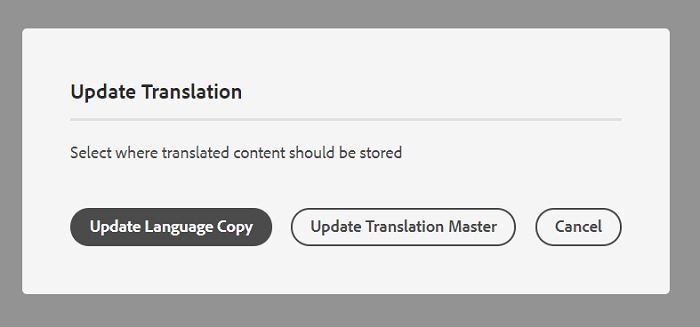
You can see three options Create Language Copy (Update Language Copy for existing project instance), Overwrite Language Master, and Cancel. Select Create Language Copy (If Update Language Copy appears you are updating the existing Translation.
-
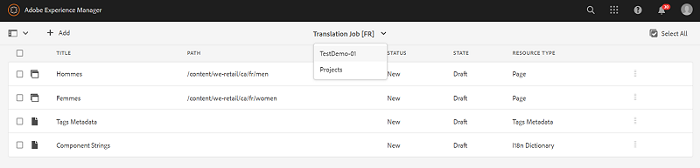
To add all mentioned assets into the translation job, Click Translation Job header dropdown, and choose Job Name to add the assets to the job.
-
You can see the updated Translation Job (Pages and |18n Dictionaries are updated).
-
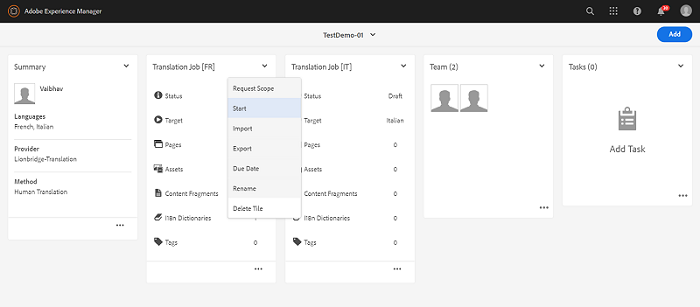
To start the translation for added assets to the job, click on the dropdown of the Translation Job (Target Language) and click Start (to start the translation for Translation Job).
-
To monitor the translation status, refresh the browser or add /bin/lionbridge/debug/jobs after your AEM instance in the URL section. You can check the Status in the Project Details (Target Language).
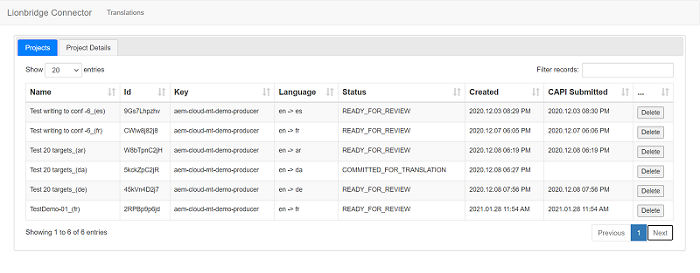
-
After the successful round trip, you can see the final job status as Approved.
